Alexander Hamilton Cake
Not since his death has America been more obsessed with Alexander Hamilton. We can blame that on two men- Ron Chernow and Lin-Manuel Miranda. On July 13, 2015 Hamilton: An American Musical opened on Broadway and has since earned a Grammy, numerous Tony awards, a Nobel prize and can brag some of the most expensive and difficult to acquire Broadway tickets EVER.
For theatre nerds like myself the idea of celebrating this show seems simple- why wouldn’t you? And for that you need a proper cake. Since I don’t decorate cakes for a living I wanted to find a relatively simple cake and see if I could get a good result. I am thrilled with how it turned out. And while the directions may look lengthy I promise that anyone can make this cake- just set aside the time for it.
Alexander Hamilton Cake
For the Cake:
You can choose to make the chocolate cake from scratch or grab a box mix at the store (I just used a box mix). Whichever you do go ahead and make it in two 2- 8″ square pans. Once they are out of the oven set them somewhere to cool.

Alexander Hamilton Cake Topper Ingredients:
Grab some black fondant from your local store. You can make it from scratch if you like but it’s a TON of kneading.
Alexander Hamilton Cake Topper Directions:
- Lay out a piece of wax paper to cover your counter.
- Put a thin layer of corn starch on the wax paper so your fondant doesn’t stick.
- Take a rolling pin and roll it until it’s relatively thin. This is going to take a little bit of pressure but if I can do it, you can do it. You don’t want it crazy thin because the detail work on Hamilton is delicate.
- Using the Alexander Hamilton Topper Printable trace along the edges with a sharp knife or utility blade. I used my orange one in my favorite set.
- Pull away the excess fondant and set Alexander aside to use later.
Filling Ingredients:
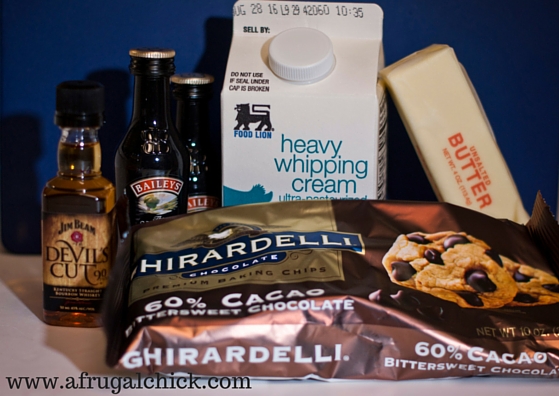
- 8 ounces bittersweet or milk chocolate (I made it with bittersweet and it was just a tiny bit stronger than I would have liked. However this cake got shared with many people and there were NO complaints so it might just be my taste)
- 1/3 cup heavy cream
- 1/3 cup Bailey’s Irish Cream (this took two miniature bottles from the liquor store)
- 2 tablespoons butter, room temperature
- 1 to 2 teaspoons whiskey
To Make Filling:
- Chop the chocolate into coarse but roughly even pieces. I used my food processor to get them into very small pieces. Put them in a bowl you can eventually put in the microwave if needed.
- Heat the cream until it is simmering (but not boiling). I put it in a coffee mug and heated in the microwave at 15 second intervals until it was very hot.
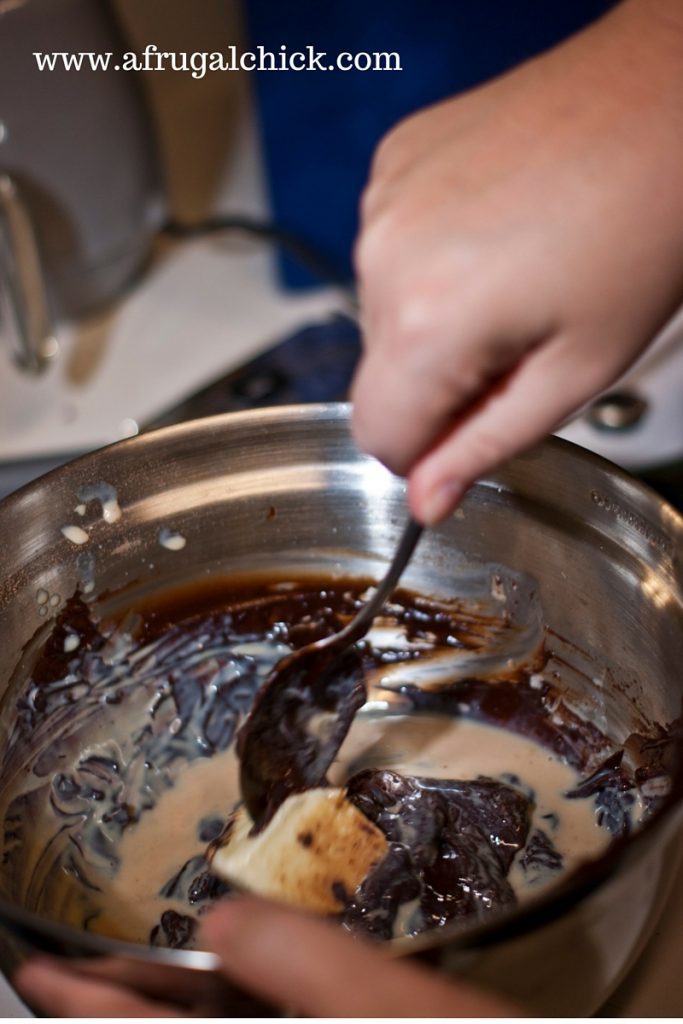
- Pour it over the chocolate. Let it sit for about a minute and then stir until smooth. I couldn’t get mine perfectly smooth so I stuck it in the microwave for 15 seconds and it was perfect.
- Then add the butter, Irish Cream and whiskey and stir until combined.
- It was a little thin so I put it in the fridge to thicken. Don’t leave it in too long or you will have to thaw it (learned that the hard way).
Icing Ingredients:
We used buttercream icing purchased at the store but you could certainly just use regular icing from the grocery store since you are just covering the cake with it (stuff from the store isn’t great for creating designs). Or make your own buttercream.
Wilton Gold Color Mist and Wilton Black Color Mist (should be around $4 at your local store).
Buttercup Yellow Icing Color and Brown Icing Color.
Directions for the Icing and Filling:
- Put one layer of the cake on something flat- a plate or platter will work fine (we used a baking sheet covered in aluminum foil).
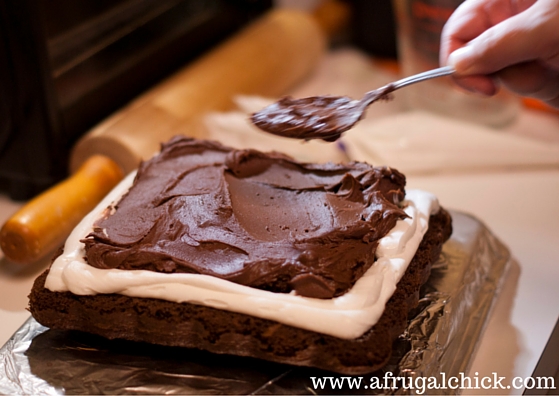
- Take some butter cream and create a reservoir (basically a frame) around the outside top of the cake. This will keep the filling from spilling out.
- Take the filling and spread it inside the reservoir. Make it as thick as you like.
- Take the second cake layer and place it on top. Press it down firmly so that the icing is holding the two layers together.
- Put a crum layer on the cake. This is a thin layer to catch all the crums from the cake so that they do not go into the icing you can see. Stick the cake back in the fridge.
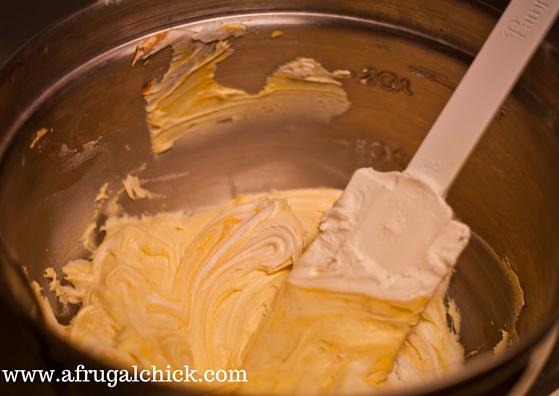
- Take the remaining icing and put in a decent sized bowl. Begin by dipping a knife into some Buttercup Yellow Icing Color and mixing. We used that and a little bit of brown to get the color correct.
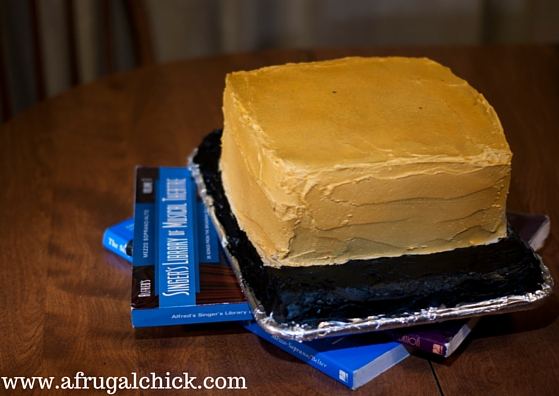
- Once you have the color you want ice the cake trying to keep it as smooth as possible. So take the cake out of the fridge and ice it.
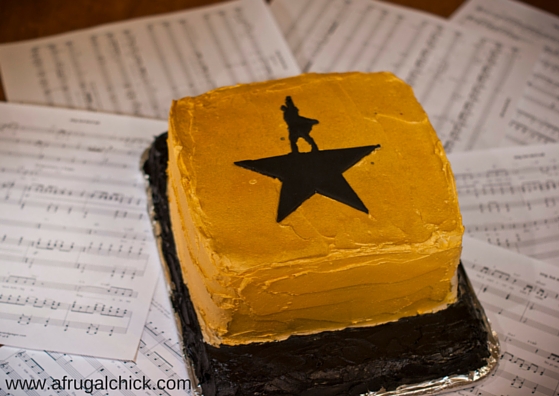
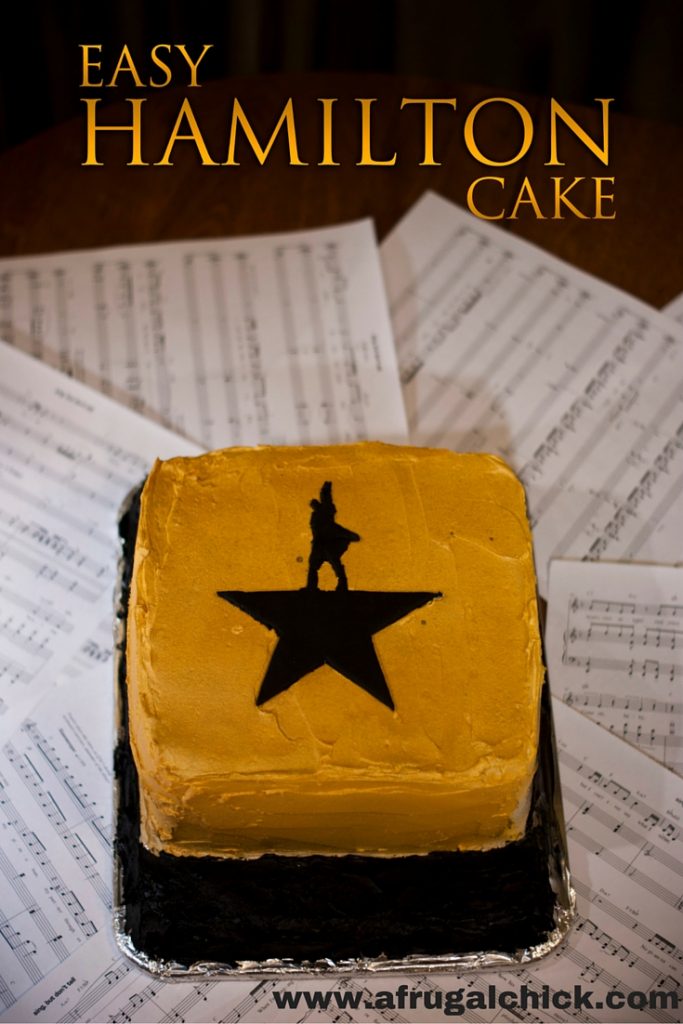
- Use the Wilton Gold Color Mist and lightly spray the cake until you get color of the Official Hamilton Logo. Then you can use the black to just add some accents. Don’t let this freak you out- it was MUCH easier than I anticipated.
For your final step just carefully take Hamilton off the wax paper and add him on the top of the cake! Now you have completed your Alexander Hamilton Cake!